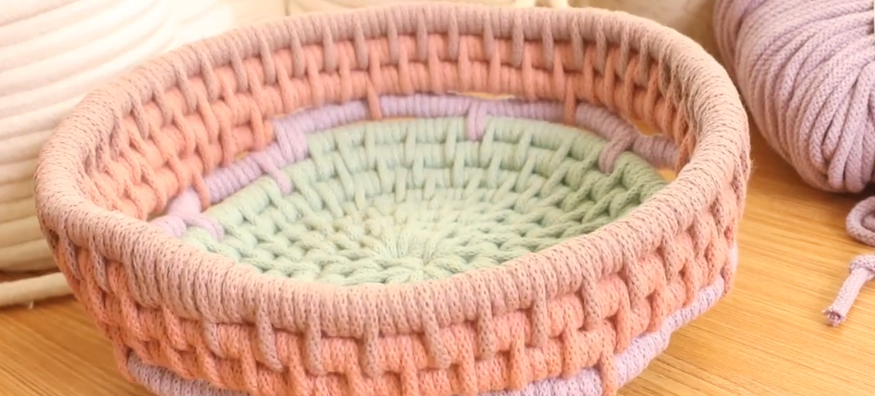
Turn simple materials into a beautiful coiled Easter basket with this step-by-step tutorial. Perfect for filling with eggs, candy, or springtime goodies, this basket is just as fun to make as it is to display.
Using colorful cord wrapped around a sturdy filler core and stitched securely as you build, you’ll create a festive basket that’s both durable and decorative. Customize it with soft pastels, bright spring shades, or classic neutrals to match your Easter decor.
Whether you’re making one for a child, a grandchild, or as a seasonal centerpiece, this coiled Easter basket is a handmade keepsake you’ll reach for year after year.
Materials Needed
- 5mm Braided Cotton Cord
- 3/8″ cotton filler cord
- Large-eye Yarn Needle
- Sharp Scissors
Instructions
Step 1: Gather Your Materials
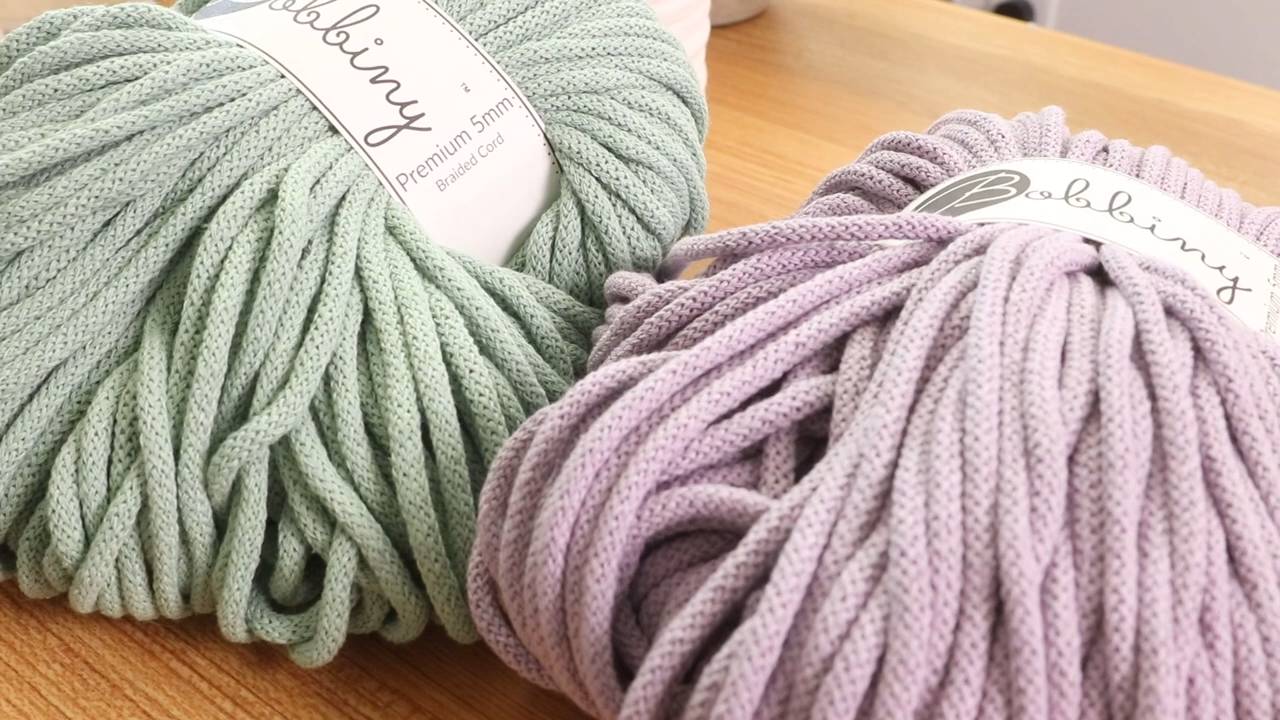
Start by selecting your favorite colors of 5mm braided cord. For this project, I am using aloe, lavender, blush and mauve.
Step 2: Prepare the Filler Cord
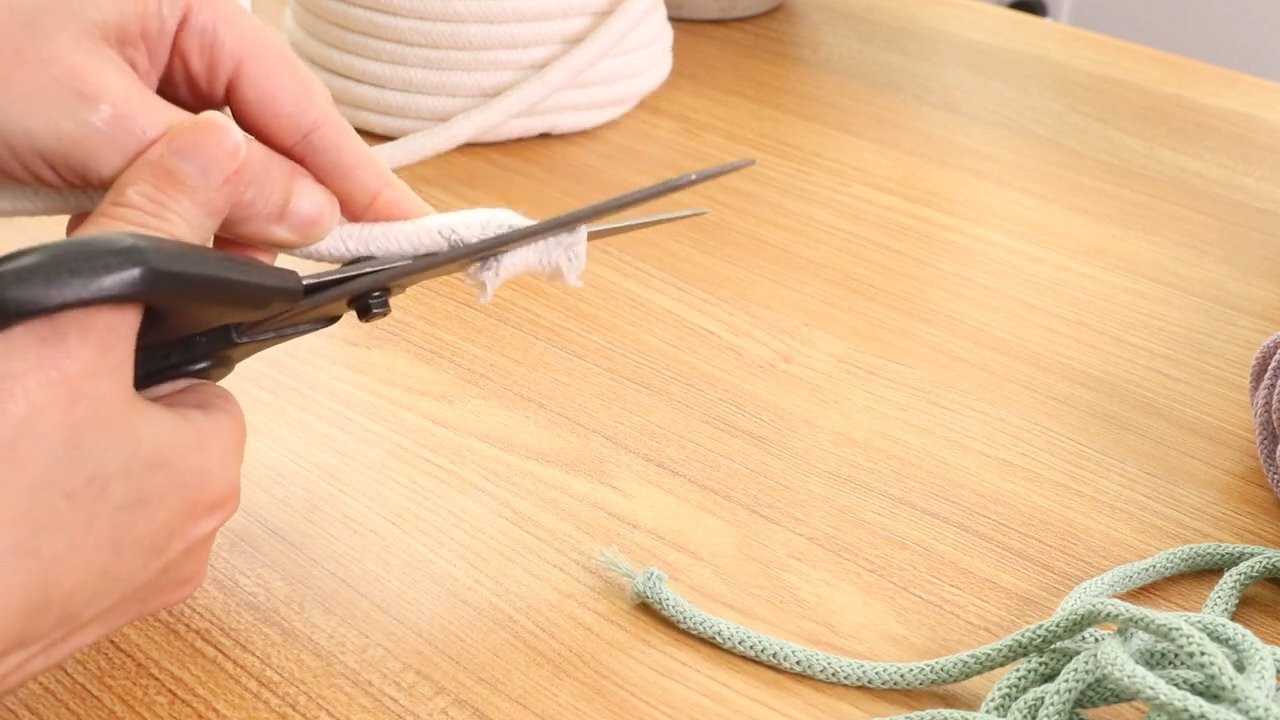
Let’s start with our 3/8-inch cotton filler cord. Instead of measuring a specific length, you can just use a bundle, whether it’s 25, 50, or 100 feet, so you can make your basket whatever size you like. Take your filler cord bundle and begin by cutting one end at a slight angle to taper it.
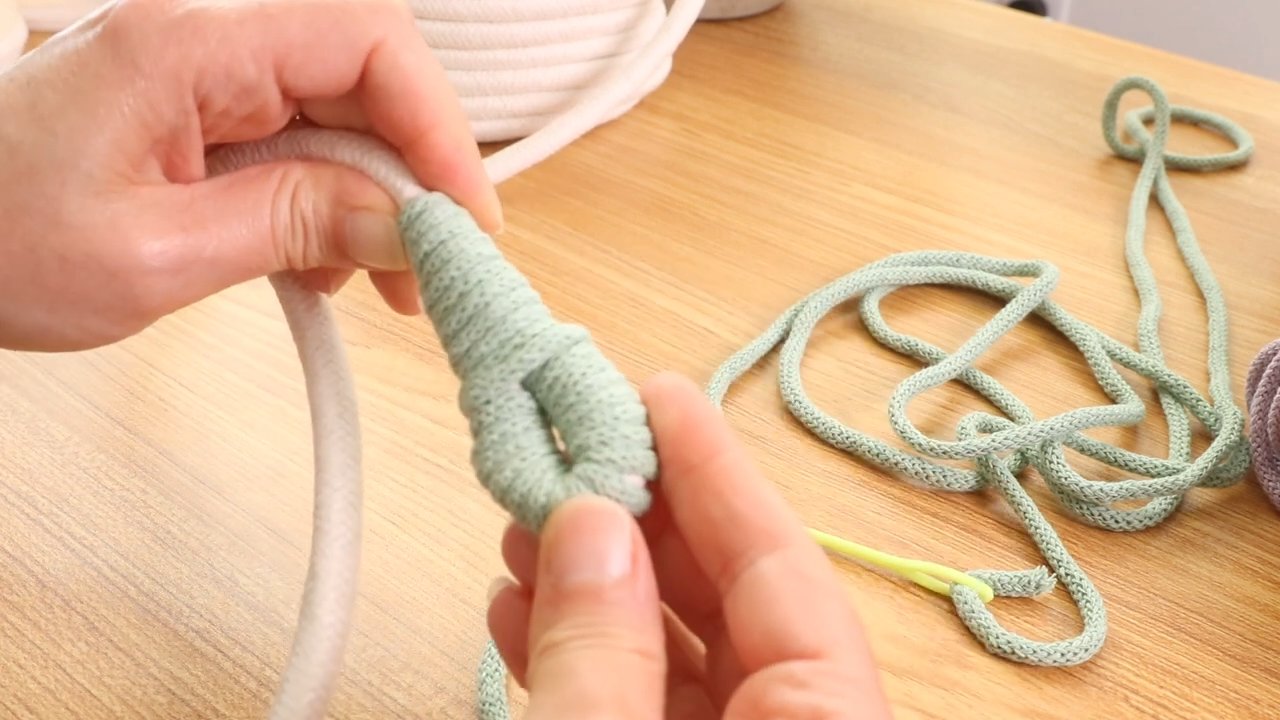
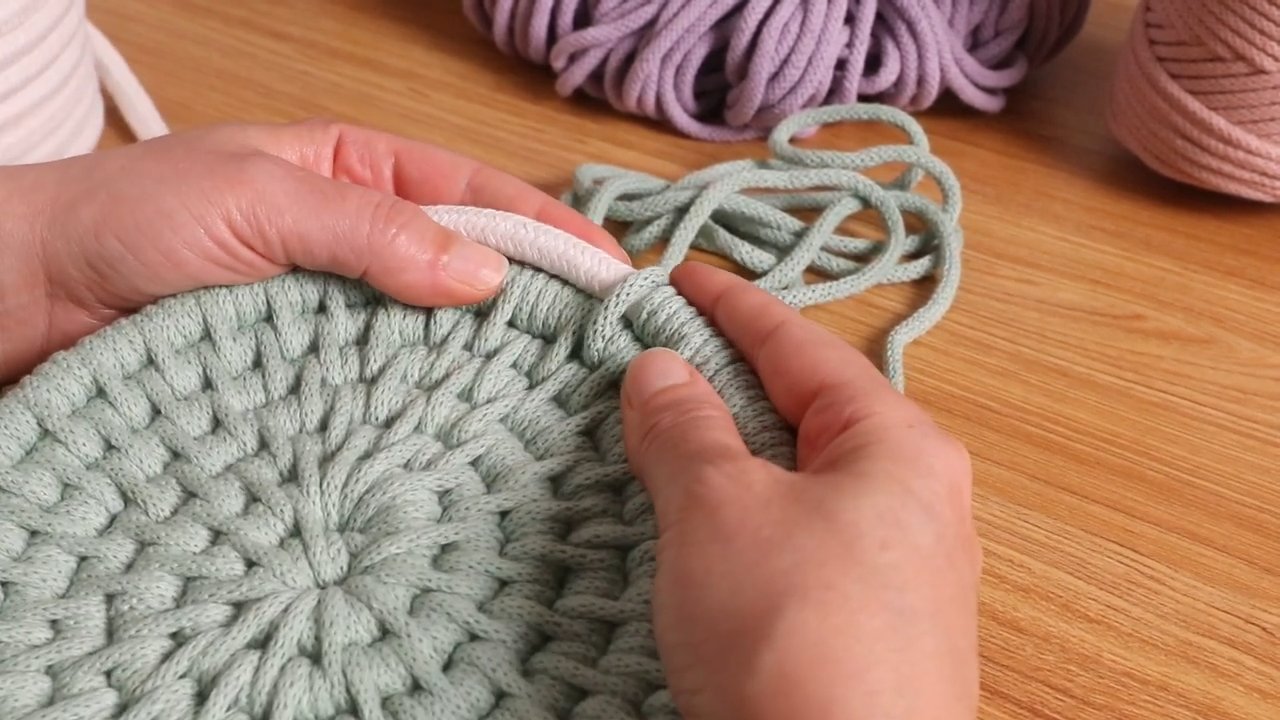
Step 3: Initialize the First Wrap
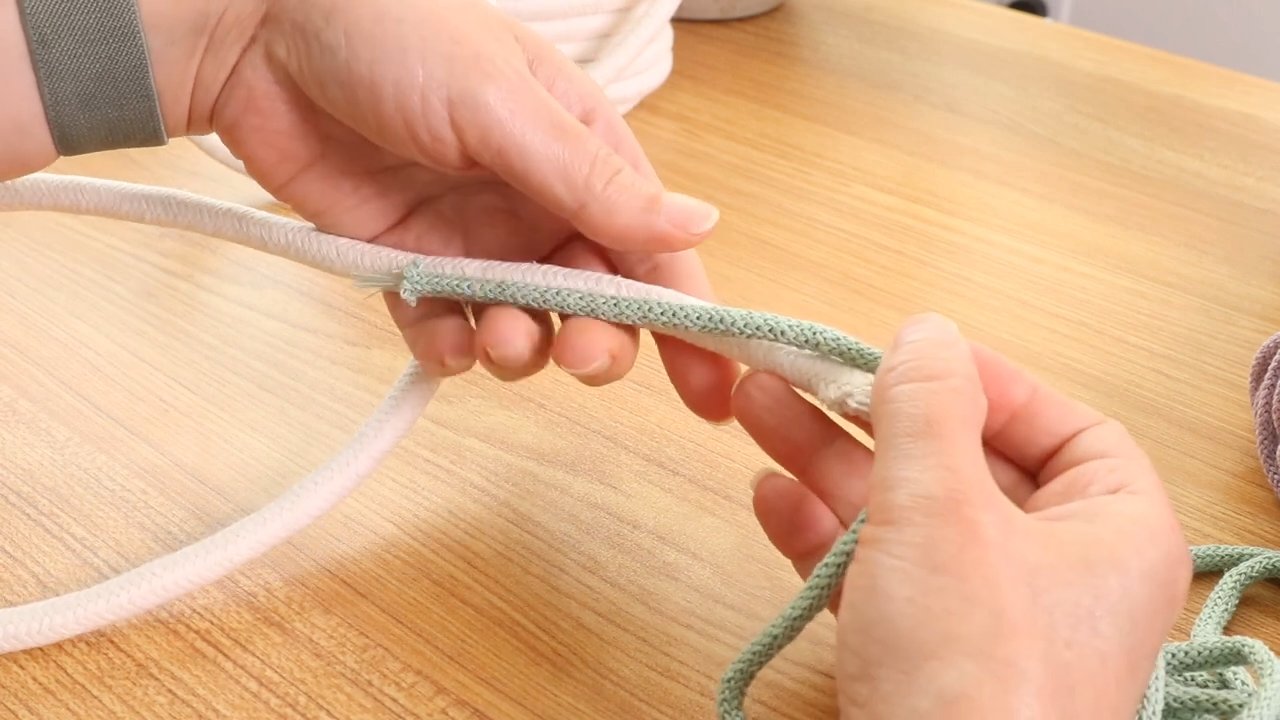
If you’re right-handed, hold your filler cord in your left hand and your wrapping material in your right. Place about an inch or two of your braided cord pointing left on top of the filler cord and wrap away from you 11 to 12 times. Now, if you’re left-handed, you’ll hold the filler cord in your right hand and wrap with your left hand. You’ll do exactly what I’m showing, just opposite, you’ll be wrapping to your right while I wrap to my left.
Step 4: Create the Center Coil
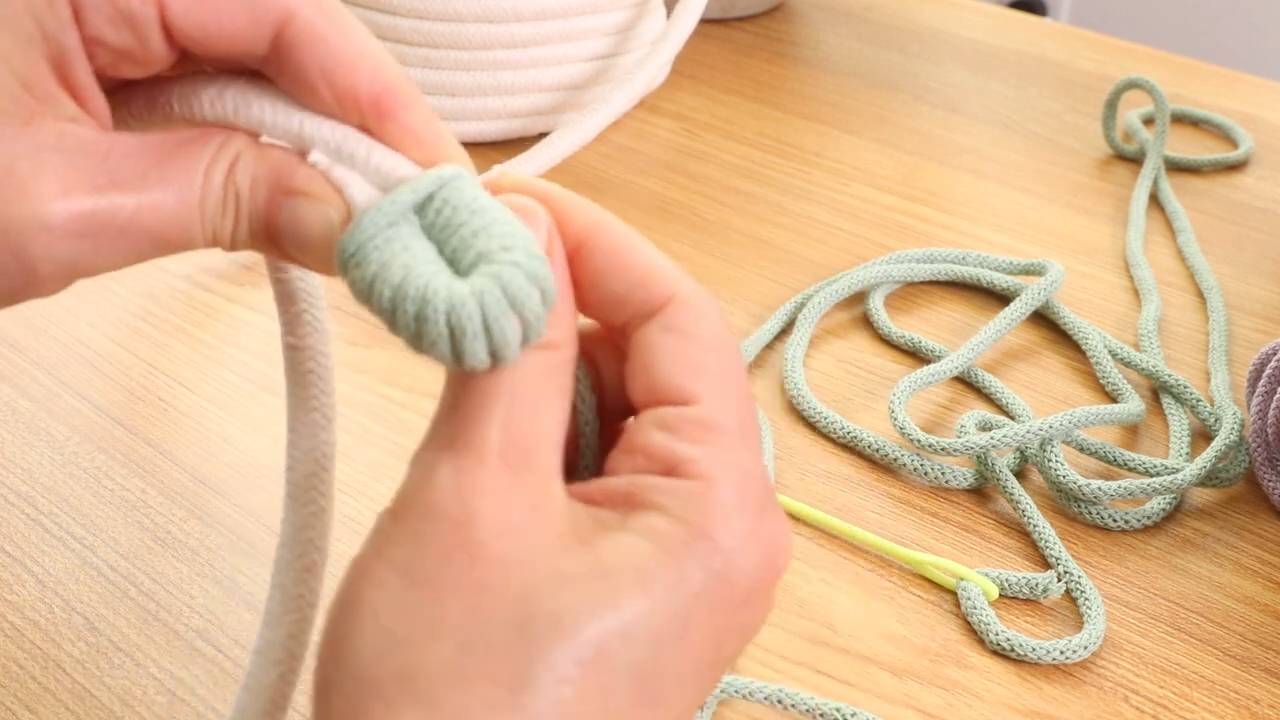
Fold the wrapped end of the rope into a small, tight circle. Continue wrapping the cord over both the end and the adjacent part of the rope to lock them together.
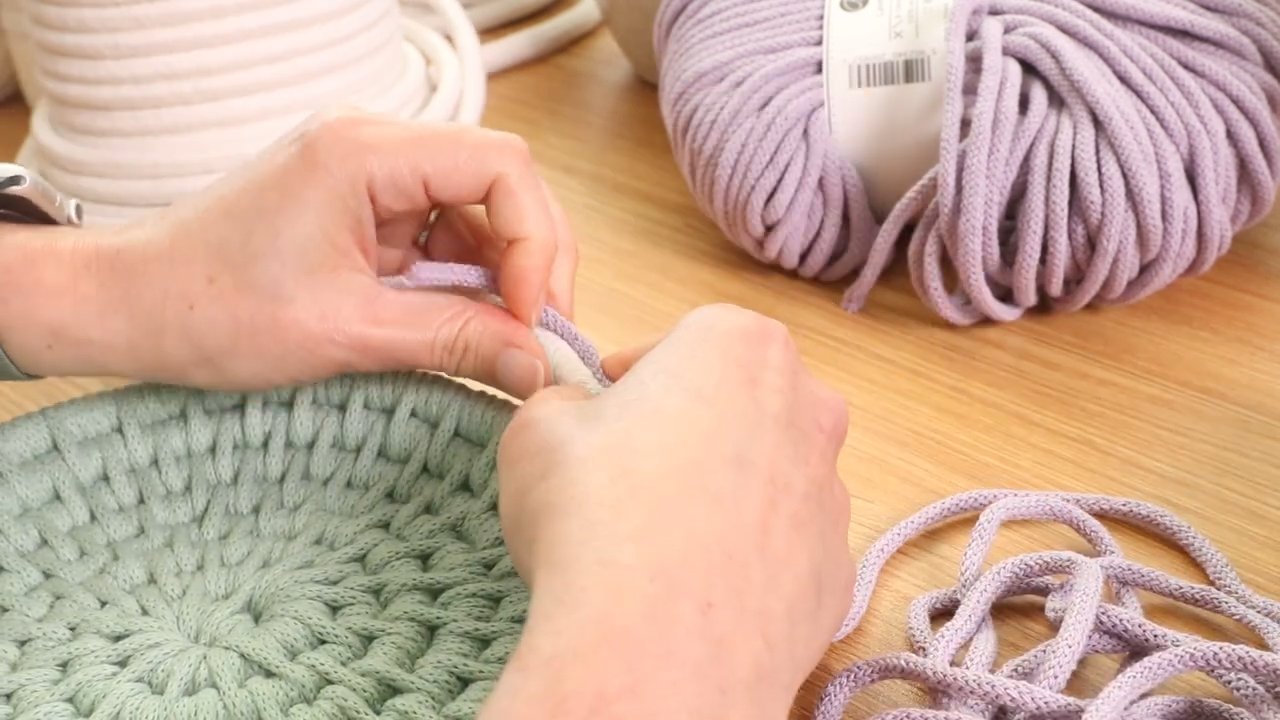
Step 5: Complete Round One
Then fold the right end down one more time so your coil begins to form. Make sure the braided cord where you stopped wrapping is centered with the hole. Now it is time to begin stitching it together with your needle.
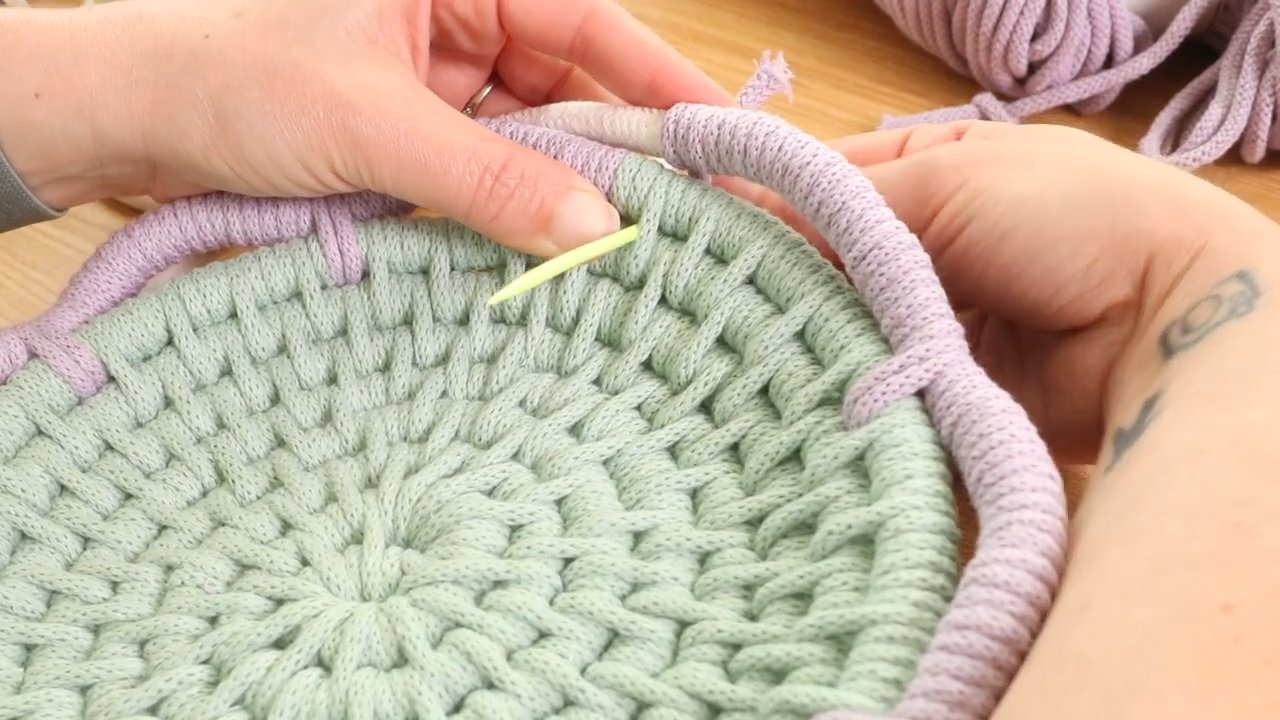
Step 6: Begin Spiraling the Base
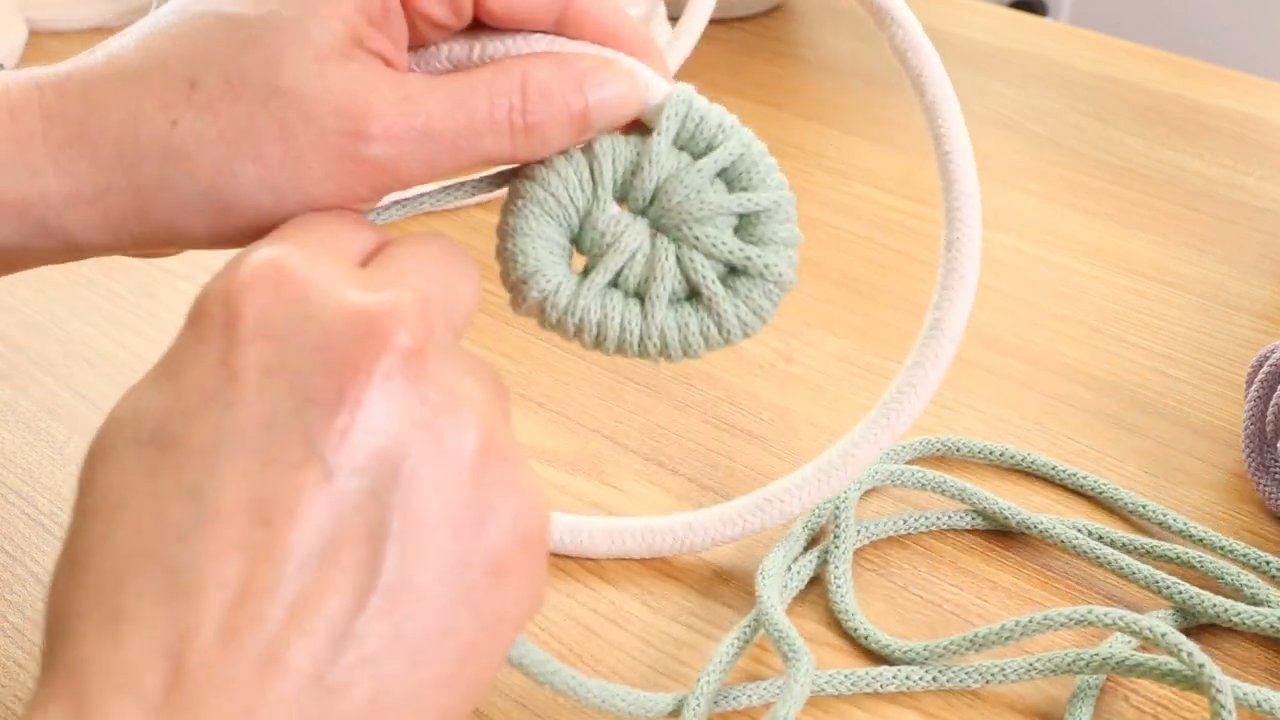
It’s time to begin round two. Wrap your cord around the filler three times, then go in with your needle and make either a long stitch or a double wrap stitch. Continue this pattern all the way around, and by the time you finish the round, you’ll be back at the curve where you first began.
Step 7: Continue Expanding the Base
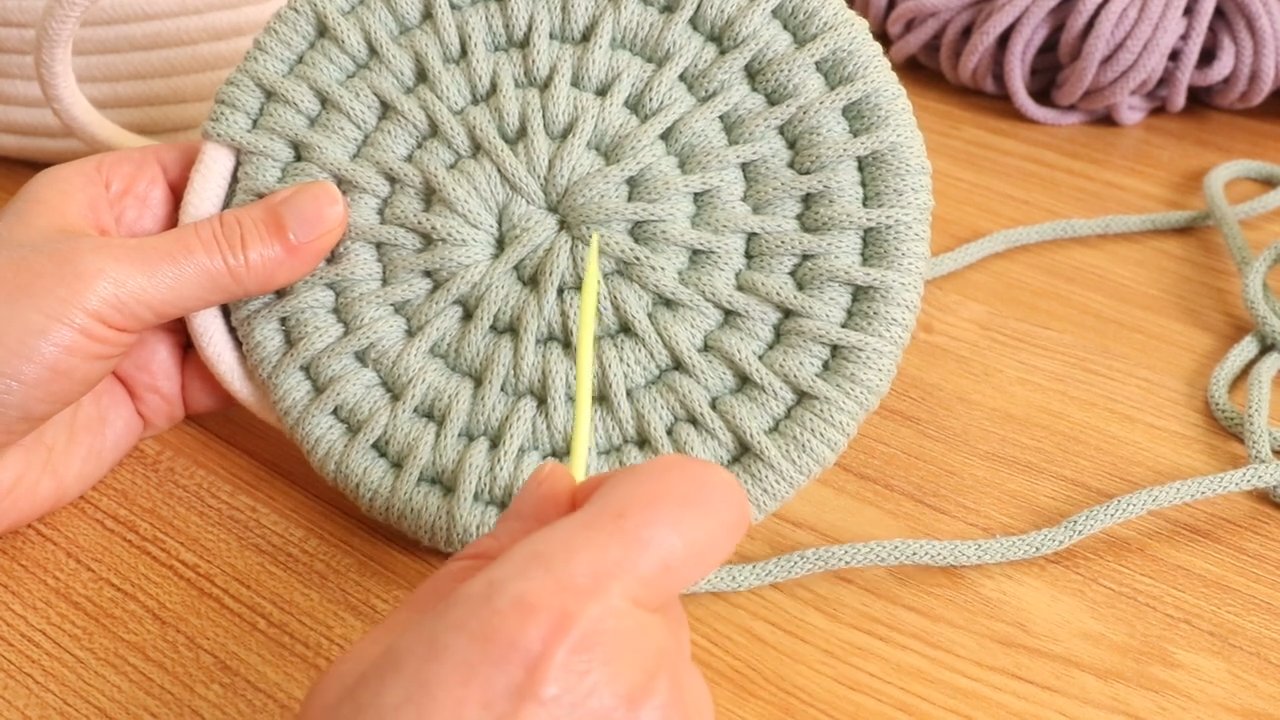
Continue building your spiral, keeping each stitch snug and secure. At this point, you no longer need to count your wraps, just wrap until your cord is centered between the previous round’s double wraps, then stitch. As your base expands, the spaces between stitches will get larger, so to keep your base looking neat and even, you’ll add extra wraps spaced evenly throughout. Continue until your base is the diameter you want, keeping it flat on your work surface as you go.
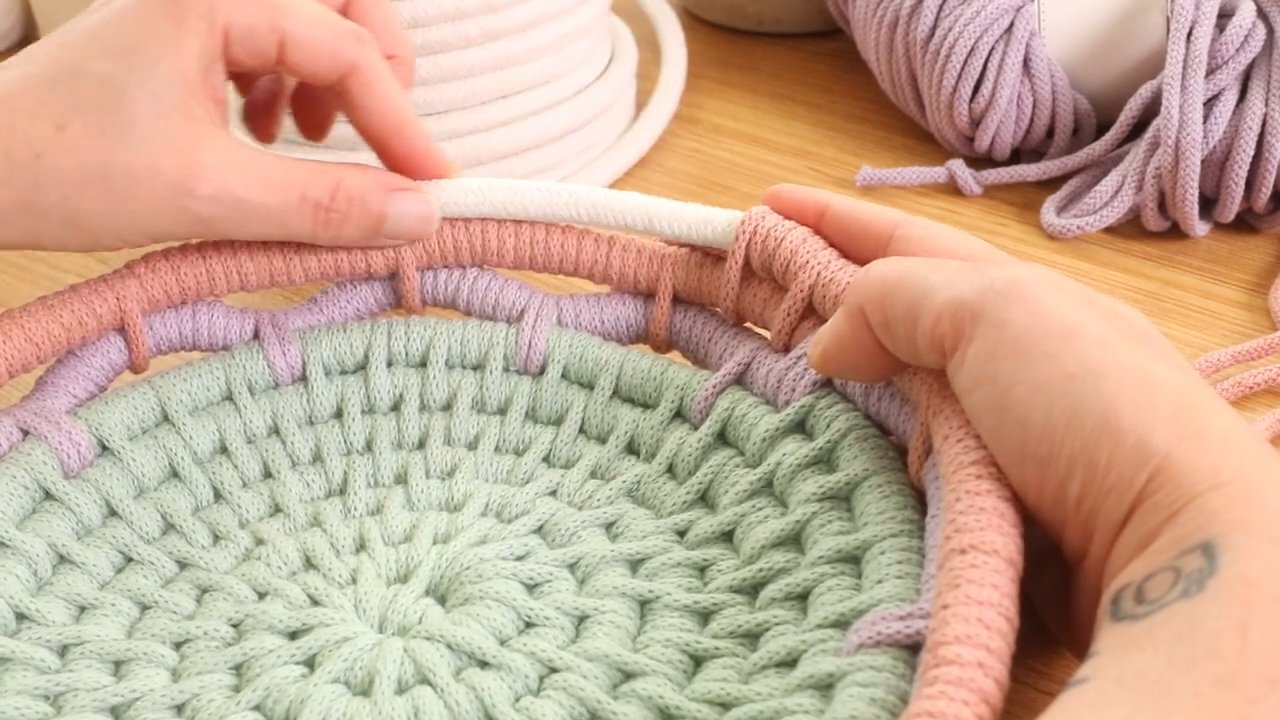
Step 8: Transition to the Sides
To start building the sides of the basket, begin stacking the filler cord on top of the outer edge of the base instead of coiling it outwards. This is a great time to introduce your second color.
Step 9: Adding in a New Color
To add a new piece of cord, cut another handful. Thread your needle onto one end of that new piece but start working from the opposite end. I prefer to join new cord right after a double wrap, since it makes the transition smoother and less bulky. Take the tail end of your old piece and bring it to the front of your work. Then lay the new piece toward the back along the filler cord. Hold both the old tail and the new piece, along with the filler. Then continue wrapping with the new piece, wrapping exactly as you have been. The transition will be nice and seamless!
Step 10: Adding a Design
We’re going to add a decorative design near the bottom of the basket. You can also do this same design near the top if you’d like. I’ll start by wrapping the filler cord about 24 times or so with my braided cord continuously. Once I’ve done that, I’ll gently push that wrapped section outward to form a raised loop, almost like a little petal. Then I’ll anchor it back onto the basket using two double wraps to secure it. I’ll repeat this all the way around, giving the basket a lovely flower-petal effect!
Step 11: Continue the Sides
Now it’s time to continue building upward until you reach your desired basket height. For each round, simply pull the filler cord above the previous row. Make sure you wrap firmly and consistently so the basket stays nice and secure.
Step 12: Ending the Basket
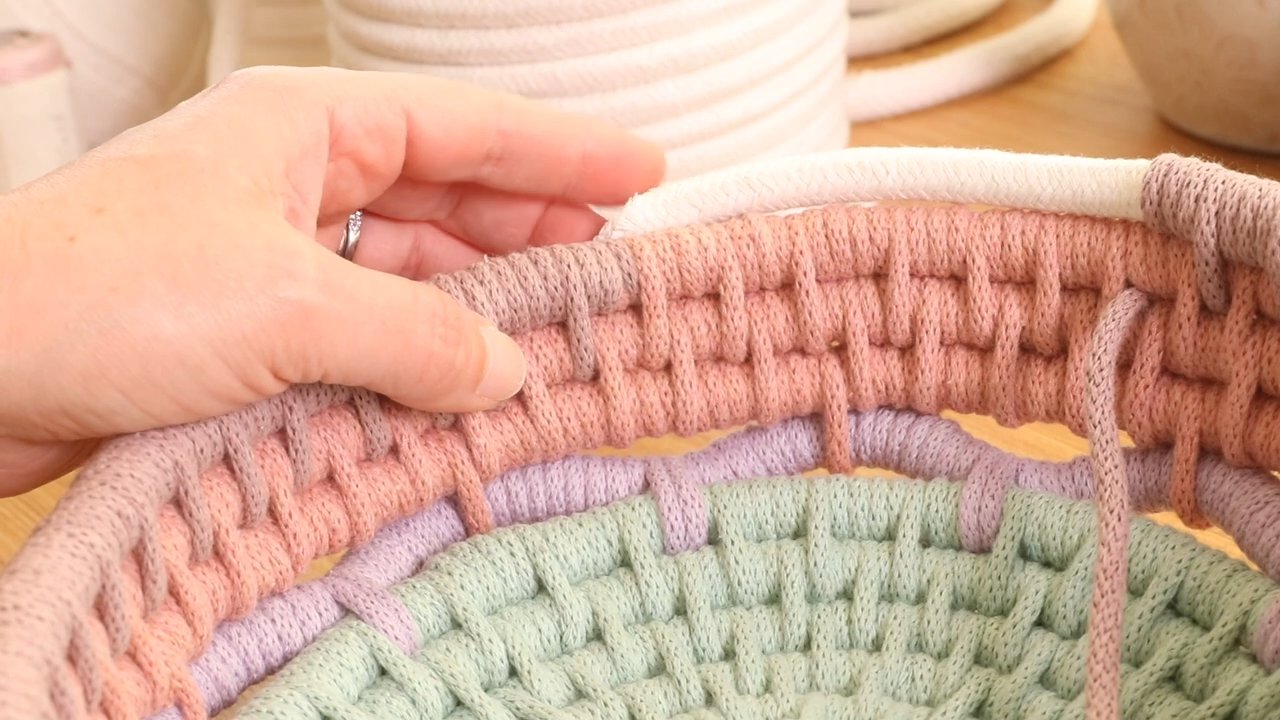
Now it’s time to finish your basket. I like to end right where I began, so you’ll line it up with your starting point. Cut your filler cord at an angle to create a tapered end. Then, continue wrapping neatly with your braided cord, using double wraps, until that tapered end is fully covered and everything looks smooth and clean.


